Friday, September 24, 2010

Reclaiming Clay Without a Pug mill

I have dreams of one day having my own pug mill to make reclaiming clay much easier. Currently, it's something that I've learned to do by hand. It's much easier if wet clay is reclaimed with wet clay and dry with dry. I use 2 separate buckets that I purchased at home depot. I believe the capacity of each is about 5 gallons. I keep the wet bucket close to my wheels which makes it easy to transfer wet scrap into the bucket along with the slurry from my working water bucket. I've made 2 plaster slabs by pouring plaster into about 2" deep picture frames that I purchased on clearance at a discount store. When I'm ready to reclaim the clay, I scoop it out of the bucket and onto the plaster slab. I keep the thickness of the clay to less than 2". When the clay lifts easily off the plaster, I flip it over. Once the second side removes easily from the plaster, I wedge it and it's ready to use. 

For dry clay, I break it up into small pieces before putting it into a bucket. I'll cover the broken pieces with water and let it soak for at least a week. Once everything is thoroughly saturated, I will use my electric mixer to help break up any clumps. I will then let it sit for days as the clay will sink to the bottom of the bucket and excess water may be scooped off the top. From there I process it on the plaster slabs as I would the wet clay.

If both the wet and dry are reclaimed together, there is a tendency to have hard lumps left in the clay.
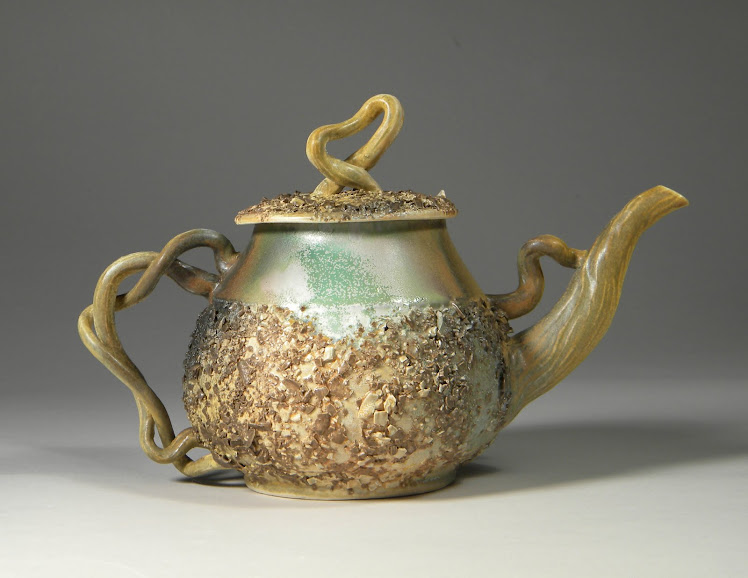
Ceramists Who I Admire

I was thinking about George Ohr a few days ago and decided to write about some of the ceramic artists whose work inspires me. George Ohr, "The Mad Potter from Biloxi," was the first. Having lived in the late 19th and early 20th centuries, he was well ahead of the times. He broke away from the conventional ceramics of the times and experimented with shapes and the natural elasticity of the medium. Some of his work may be viewed at http://www.georgeohr.org. The next artist who inspired me was Beatrice Wood known as the "Mama of Dada." What was truly inspirational to me was the fact that she hadn't begun working with clay until her early forties. She too broke away from the conventional ceramics of the day. Some of her work may be viewed at http://beatricewood.com. Of the contemporary ceramists: I truly admire Steven Hill for his graceful pieces with the wonderful sprayed glaze transitions , Robin Hopper for his wealth of technical knowledge that he has shared in several books, Don Reitz for his exploration of form, Jennifer McCurdy for her beautiful and graceful porcelain work, and Dave Williamson, one of my professors from Baldwin-Wallace, who is better known for his jewelry but is also an incredible ceramics professor. All of these artists are easily found with a quick google search.

Monday, September 20, 2010

A Couple of Tools That I Can't Live Without

I went to Marcs, a discount store, yesterday and was lucky enough to find generic "Sham-wows" for 99 cents each. If you're unfamiliar with these, they are approximately 20 x 20 inch felt like towels. I use them for a variety of purposes including covering the tray on my potters wheel while throwing; it makes cleanup so easy. Once I'm finished working, I'll just squeeze the towels into my water bucket and do a quick wipe down of the wheel. I also use them damp to line my spray booth while glazing. Again, it makes clean up so much easier. My work often involves laying pieces on their sides to do finish work. To protect the work, a piece of foam, purchased at a fabric store, is used and I put a felt towel on top of that to keep it cleaner.

A hand held blender is another of my favorite tools. It can be purchased in the kitchen supplies area of most department stores. It is lighter and takes up less room than an electric drill with the glaze mixer attached and is perfect for mixing studio size glaze batches and slips.


Friday, September 17, 2010

Clay and Glaze fit

Clay and glaze fit did not come easily for me. While in college, I worked primarily with a cone 10 stoneware clay and fired in a gas reduction kiln to cone 10. I truly enjoyed that kiln and it was always an adrenaline rush watching the little flames shooting out of the vents. The color changes of the flames were absolutely amazing. If only I could find glaze combinations that would replicate those colors. But anyway, when I set up my home studio and began developing a body of work inspired by the effects of human activity on our ecosystems, it was imperative to fire in the most eco-friendly means.

I bought a programmable electric kiln that fires to cone 10. It's a beautiful L&L with the best element holders on the market.  To stay true to my conviction to work green, I fire my work to a maximum cone 6. I never dreamed that when I began to work from home that it would be so challenging to find a clay that I was happy with and then develop interesting glazes (that come close to replicating those wonderful cone 10 reduction glazes) that fit the clay. I do plan on posting those glazes in the near future. But I will say that Rutile is indispensable for making beautiful, interesting cone 6 glazes. The clay that I've been using is a cone 6 buff stoneware from Laguna Clay in Byesville, Ohio. Shipping clay can be very costly and it is worthwhile to find a nearby clay manufacturer. So, I periodically make the 2 hour trip to Byesville and load up the van. Not only do I enjoy the clay but the staff there are wonderful to work with.